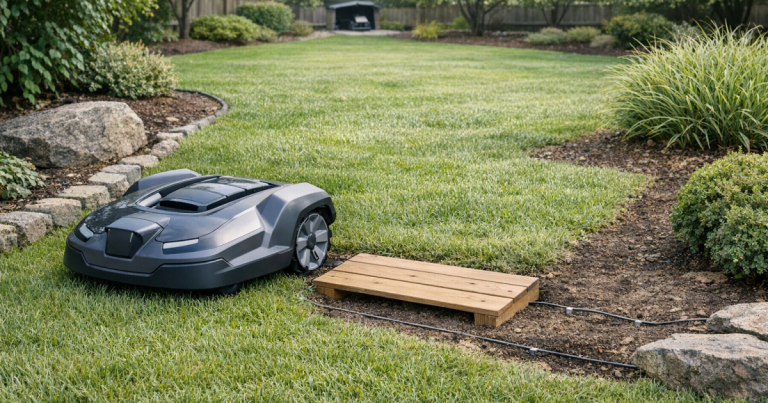
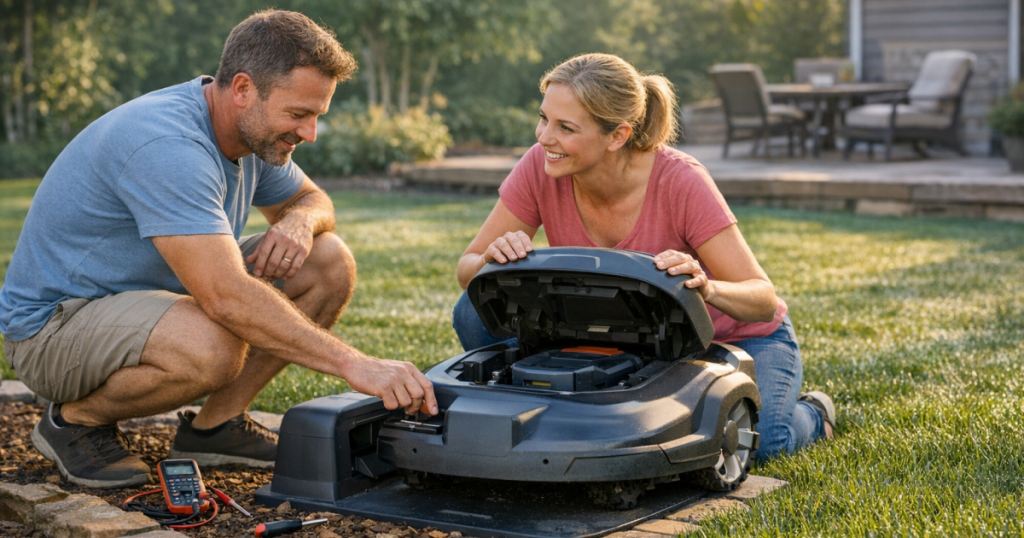
When a robot mower won’t charge, the fix is often simpler than a new battery. Start with the charging station, contacts, mower alignment, and recent storage history before assuming the battery has failed.
Repairing or replacing mains outlets, damaged power cords, transformers, or internal charging-station wiring should be carried out by a qualified electrician or authorized service technician to meet local electrical codes and safety requirements.
In brief
A charging problem usually falls into one of six buckets: no power reaching the dock, dirty or corroded charging contacts, poor mower-to-dock alignment, a deeply discharged battery after storage, an aging battery that no longer accepts charge reliably, or an electrical fault that needs dealer-level diagnosis.
- If the dock has no light, no display, or no sign of power, start at the outlet and power supply.
- If the mower docks but does not charge, clean and inspect the charging plates or pins on both the mower and station.
- If the mower noses into the station at an angle, check the base placement, approach path, and any warped or shifted station mounting.
- If the mower was stored for months, give it time to wake up, but stop if the manual warns against charging a deeply discharged pack.
- If the battery drains quickly or will not hold charge after cleaning and power checks, battery age or an internal fault becomes more likely.
Step 1: Make sure the charging station actually has power
Begin at the wall, not the mower. Confirm the outlet is working by testing it with a simple plug-in device such as a lamp. If the outlet is controlled by a switch, GFCI outlet, outdoor timer, or smart plug, make sure it has not been turned off or tripped.
Next, look at the charging station and power supply. Many systems use an indicator light on the dock or power supply, but the exact behavior varies by brand. Use your mower’s manual to interpret any light colors, flashing patterns, or error messages. A dead dock can make a healthy mower look like it has a failed battery.
- Unplug and re-seat the low-voltage connector at the station if your manual allows it.
- Look for cracked insulation, chew marks, crushed cable, or a loose plug.
- Avoid using damaged extension cords, undersized cords, or wet connections around the charging setup.
- If the transformer, cable, or dock appears damaged, stop using it until the damaged part is replaced or inspected.
Step 2: Clean the charging contacts before buying a battery
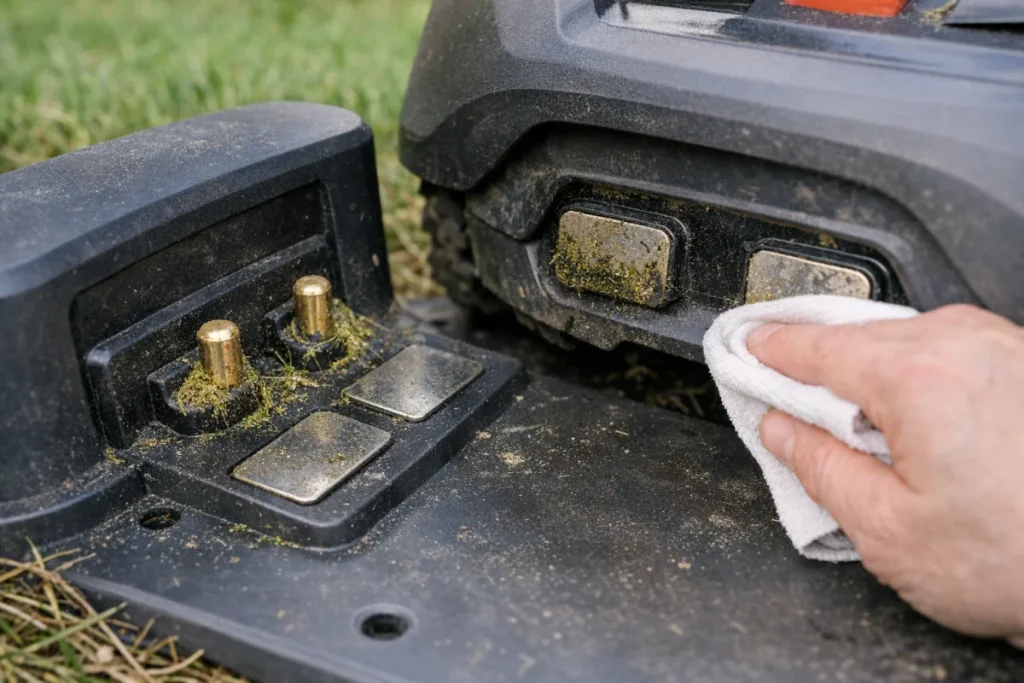
Charging contacts are small, exposed metal surfaces that transfer power from the dock to the mower. Grass sap, dust, dried mud, fertilizer residue, and light corrosion can interrupt that transfer. This is one of the most common low-drama fixes, and it is easy to overlook because the mower may still dock normally.
Turn the mower off according to the manufacturer’s instructions and disconnect power to the dock before cleaning. Wipe the contacts on the mower and station with a dry cloth first. If residue remains, use the cleaning method recommended in the manual. Avoid soaking the mower, spraying water into the dock, or scraping aggressively with a tool that can gouge the metal.
- Look for dull, darkened, greenish, or pitted metal.
- Check whether the mower-side contacts spring back or sit evenly, if your model uses spring-loaded pieces.
- Make sure no grass clump or twig is holding the mower slightly away from the station contacts.
- After cleaning, reconnect power and let the mower sit in the dock long enough to see whether charging begins.
Step 3: Watch the mower dock, not just where it ends up
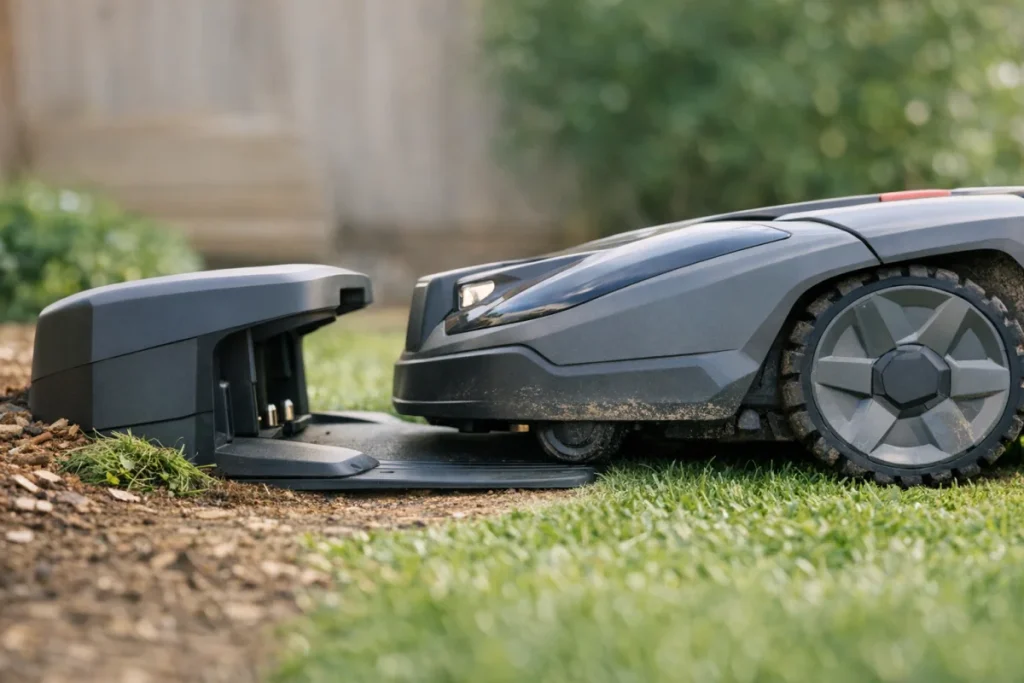
A mower can appear parked but still miss the charging contacts by a fraction. Stand nearby and watch a docking attempt from the side. The mower should approach cleanly, enter the station squarely, and settle without rocking, lifting, or being pushed sideways by uneven ground.
Common alignment problems include a station that has shifted, soft soil under one corner, grass or mulch building up at the entrance, or a tight approach that makes the mower turn sharply right before docking. If docking has become less reliable after landscaping, edging, aeration, or heavy rain, the station may simply need to be leveled and reset.
For a deeper setup check, use the station placement principles in this guide to choosing the best robot mower charging station spot. A clean, flat approach is not just a convenience; it affects whether the mower can make consistent electrical contact every time it comes home.
Step 4: Treat an “empty battery” error differently after storage
An empty battery message after a normal mowing run is different from one after winter storage. If the mower sat for months, the battery may be deeply discharged. Some mowers will wake up after sitting on the charger for a while; others may refuse to charge until reset, updated, or serviced, depending on the battery protection system.
Use the owner’s manual for the approved wake-up process. Do not bypass safety systems, open the battery pack, or attempt homemade charging methods. Lithium-ion batteries need controlled charging, and improvised fixes can create a real safety risk.
If your charging problem appears during the first cut of the season, follow a controlled restart routine instead of rushing straight to mowing. The steps in restarting your robot mower after winter storage can help separate a normal seasonal wake-up issue from a battery or dock fault.
Step 5: Decide when the battery is the likely suspect
Battery replacement becomes more plausible after you have confirmed dock power, cleaned the contacts, corrected alignment, and ruled out storage-related startup issues. A weak battery may still show signs of life: it may charge briefly, stop unexpectedly, lose charge faster than it used to, or return to the dock much sooner than normal.
Battery age matters, but there is no single universal timeline that applies to every mower, yard, schedule, and storage habit. Heat, charging cycles, long idle periods, and mowing load all affect battery wear. A mower working hard on thick grass, slopes, or frequent multi-zone trips may stress the system differently from one trimming a simple flat suburban lawn.
Before replacing the battery, check whether your mower stores fault codes in its display or app. Note the exact message, when it appears, whether the mower charges at all, and what the dock indicator shows. Those details make a dealer or support conversation much faster and reduce the odds of replacing the wrong part.
Step 6: Do not confuse charging failure with navigation failure
Some mowers reach the station using a guide wire, boundary signal, satellite-assisted mapping, camera navigation, or a combination of methods. If the mower never finds the dock, that is a navigation or signal problem first. If it finds the dock but does not take charge, that is a charging-contact, station-power, battery, or electronics problem first.
- If the mower is stranded in the yard with battery low, check whether it can still locate the station.
- If it reaches the station and backs out repeatedly, inspect the entrance path and station alignment.
- If it docks correctly but the battery stays at zero or shows an error, focus on contacts, dock power, and battery status.
- If the boundary or guide signal is missing, solve that fault before judging the battery.
Mistakes that make charging faults harder to solve
The quickest way to lose time is to change several things at once. Move the station, clean the contacts, reset the mower, and replace a cable all in one afternoon, and you may not know which action helped. Work one step at a time, then test.
- Do not assume a battery is bad just because the display says empty.
- Do not leave a mower repeatedly trying and failing to dock on a misaligned station.
- Do not pressure-wash charging plates, the dock, or the mower underside.
- Do not ignore small cable damage near the station; that area gets stepped on, bumped, and tugged.
- Do not use non-approved batteries, chargers, or connectors just because they appear to fit.
How to keep the problem from coming back
Most charging problems are easier to prevent than troubleshoot. Keep the dock area clear, trim grass that grows into the entrance, and give the charging contacts a quick visual check during routine cleaning. After storms, lawn projects, or kids’ backyard traffic, confirm the station is still level and firmly seated.
It also helps to make charging checks part of regular mower care rather than an emergency task. The robot lawn mower maintenance checklist covers the repeatable habits that keep blades, wheels, sensors, and charging hardware from becoming surprise problems during peak mowing season.
Things readers ask
Why does my mower say the battery is empty when it is sitting in the dock?
The mower may be docked but not making electrical contact, the dock may not have power, or the battery may be too deeply discharged to start normal charging. Clean the contacts, confirm dock power, and check the manual’s guidance for empty-battery or deep-discharge errors.
Can I jump-start a robot mower battery?
No. Do not jump-start a robot mower battery with automotive chargers, loose wires, or improvised power sources. Robot mower batteries need the approved charger and battery-management system. If the mower will not accept charge after basic checks, have the battery and charging circuit inspected.
How do I know whether it is the dock or the mower?
If the dock has no power indication or the outlet is dead, start with the dock side. If the dock appears powered and the mower docks cleanly but never charges, inspect the contacts and mower-side charging hardware. If both look normal and the fault repeats, service diagnosis is the safer next step.
What to do next
Work through the easy checks in order: outlet, dock power, contacts, alignment, storage history, then battery condition. If the mower still will not charge after those steps, document the exact error message, dock light behavior, and what you already tested. That short fault history is often the difference between a quick repair path and a frustrating parts-swapping guess.