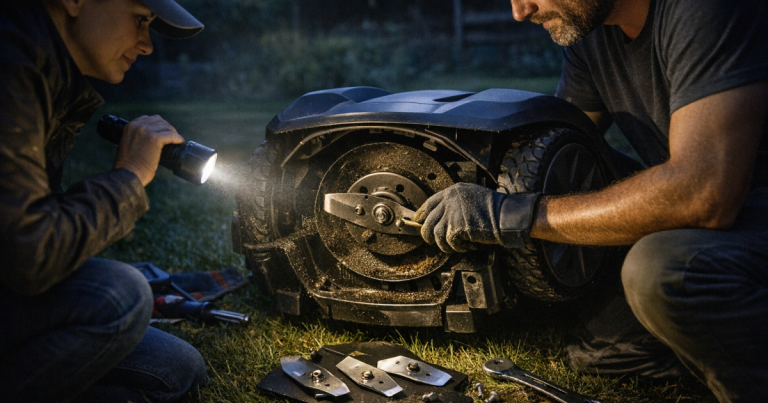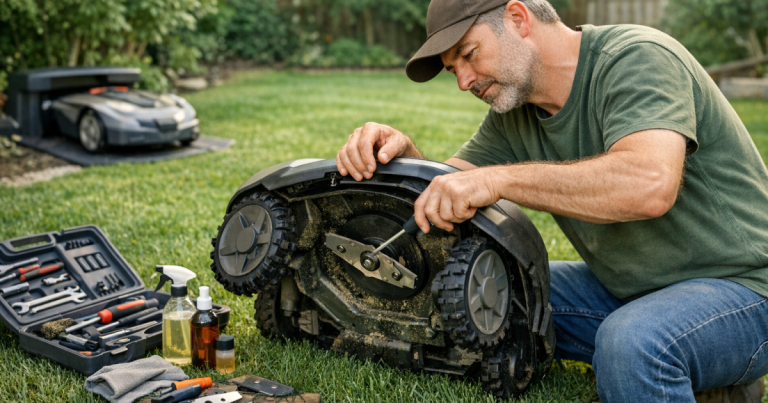
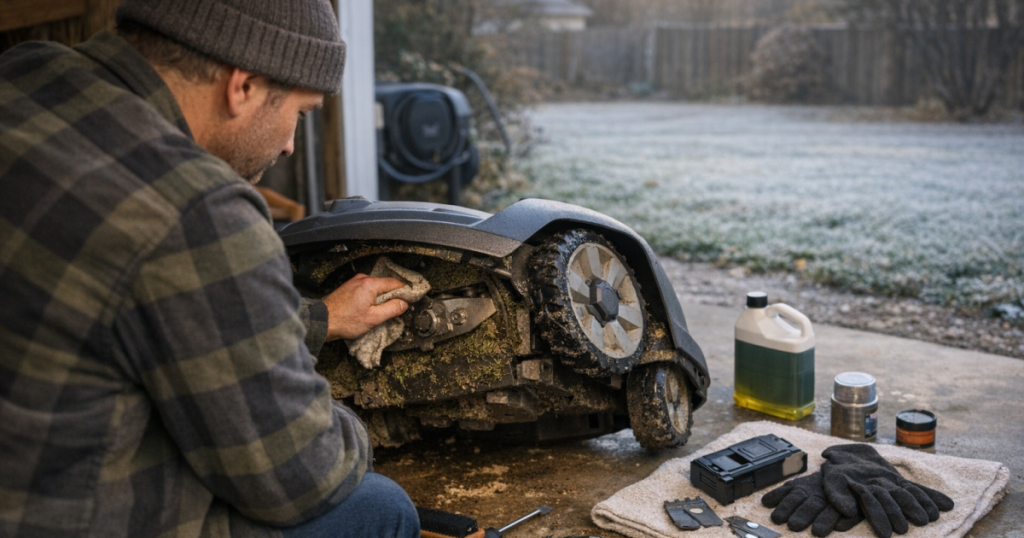
Cold weather is when a robot mower goes from low-drama helper to expensive object you really do not want sitting dirty, damp, and half-charged in the shed. The safest way to winterize a robot lawn mower is to clean and dry it, inspect the blades and wheels, charge the battery to the manufacturer’s recommended level, power it down, and store the mower and vulnerable charging or RTK parts in a dry, temperature-stable place. A calm hour now usually beats a spring surprise later.
Brand instructions matter here. Husqvarna, Worx Landroid, Mammotion, Segway Navimow, ECOVACS GOAT, and other mower makers may differ on battery charge level, whether the charging station stays outside, and how often the mower should be topped up during storage.
In brief: the winter storage checklist
- Finish the last mow, then send the mower back to charge.
- Turn the mower off before cleaning, inspecting, or lifting it.
- Remove grass buildup from the deck, wheels, blade area, and charging contacts.
- Dry the mower fully before storage, especially around the underside and contacts.
- Inspect blades, blade screws, wheels, tires, and the charging station.
- Set the battery to the storage charge level recommended in the mower manual.
- Store the mower indoors in a dry, stable location away from freezing swings when the manual requires it.
- Remove or protect the dock, power supply, low-voltage cable, RTK antenna, and beacons according to the brand’s winter guidance.
- Label cables and take photos before disconnecting anything.
- Plan a spring restart: clean contacts, reinstall parts, update firmware if applicable, and test a short mowing session.
Step 1: Pick the storage spot before you start cleaning
Choose the storage location first so the mower does not sit freshly cleaned on a damp garage floor while you figure things out. A good winter spot is dry, protected from pests, and not subject to wild temperature swings. A basement utility area, attached garage shelf, or enclosed storage room is usually better than an unheated shed that gets cold and wet.
Do not assume every mower battery is happy below freezing. Lithium-ion battery storage guidance varies by brand and model, so follow the manual for temperature range, charge level, and recharge intervals. If the battery is removable, the manual may treat mower storage and battery storage as separate jobs.
Step 2: Clean the mower without turning it into a bath toy
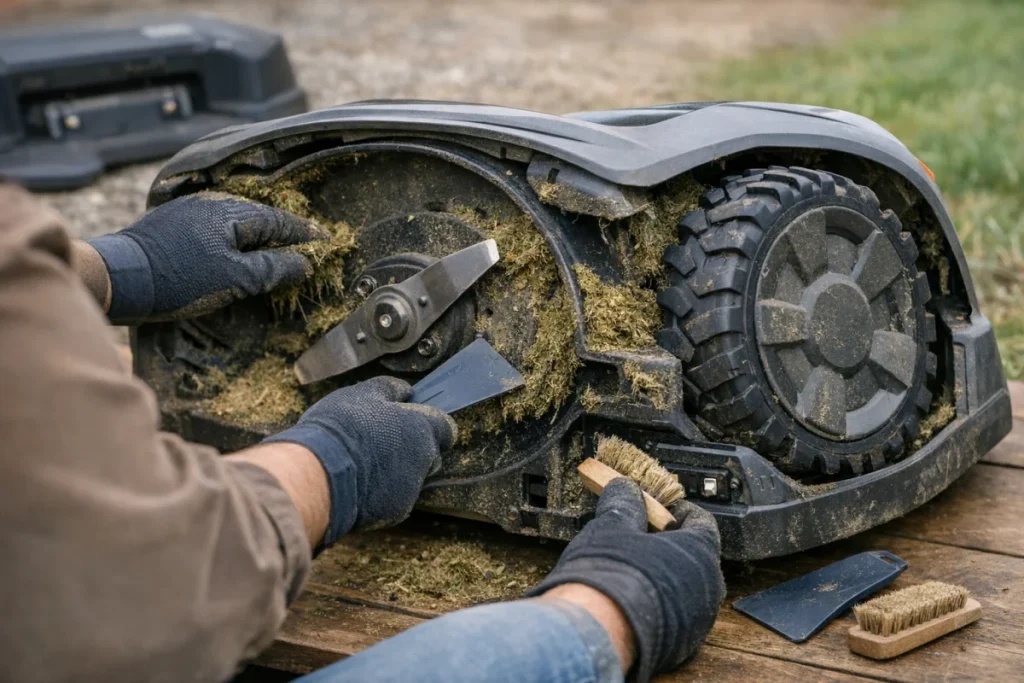
Power the mower down first. Then brush or scrape away dried grass from the cutting deck, wheel wells, skid plate area, and any narrow channels where clippings collect. A stiff brush, plastic scraper, and damp cloth are usually safer choices than a hose. Avoid pressure washing unless the manufacturer specifically allows it; water forced into bearings, seals, contacts, or electronics is not the kind of winter prep anyone enjoys explaining in spring.
Pay close attention to the charging contacts on both the mower and dock. Dirty contacts can cause weak charging, failed starts, or confusing error messages after storage. Wipe them clean and let them dry fully before the mower is packed away.
Step 3: Inspect blades, screws, wheels, and the underside
Winter storage is a useful point to decide whether the mower needs blades now or at spring startup. If the blades are bent, chipped, rusted, or dull, replace them before mowing resumes. Also check that blade screws are not stripped or corroded. Tiny screws are cheap compared with the annoyance of discovering one is seized when the grass is already growing.
For Automower owners, our OEM blade upkeep notes are a useful reference for routine blade replacement thinking. The broader rule applies to any brand: use blades and fasteners that match the mower, and replace the whole set evenly so the cutting disc stays balanced.
Spin the wheels by hand and look for packed grass, twine, pine needles, acorns, mud, or dog toys that somehow became mechanical accessories. Check tire tread for wear, especially on sloped yards where traction already works harder. If the mower has been struggling near wet leaves or roots, make a note to clear those zones before spring mapping or scheduling resumes.
Step 4: Store the battery at the right charge level
The battery is the part of winter storage where “close enough” can get expensive. Some brands recommend storing the mower fully charged, while others specify a partial charge or periodic recharging during long storage. Use the exact manual for your model, not a neighbor’s mower or a forum post from a different battery generation.
As a general ownership habit, avoid storing the mower with a depleted battery. A deeply discharged battery can be harder on the pack over time, and some mower systems may not wake up cleanly after months of neglect. Once the correct storage charge is reached, power the mower off using the manufacturer’s shutdown method rather than simply pulling it off the dock and hoping for the best.
Step 5: Decide what stays outside: dock, power supply, RTK, and beacons
The mower is only one part of the system. Boundary-wire mowers have a charging station, power supply, low-voltage cable, and perimeter connections. Wire-free mowers may add RTK antennas, vision markers, beacons, or other positioning hardware depending on the brand. These parts may have different winter rules from the mower itself.
If your manual says to bring the charging station or power supply indoors, disconnect it carefully, label the cables, and cap or protect outdoor connectors from moisture. If the dock can remain outside, clean it, secure loose cable runs, and keep leaves from piling around it. A garage-style cover can help with day-to-day weather exposure during the mowing season; our charging-station shelter review explains the kind of protection this accessory is meant to provide, though winter removal guidance still comes from the mower manual.
For RTK antennas or wireless positioning parts, do not tug cables or unscrew mounts without taking photos first. Mark the position if alignment matters. Spring setup is much easier when you are not guessing where the antenna bracket used to point.
Step 6: Walk the yard before the first hard freeze
Before the ground gets hard, walk the mower’s working area. Look for exposed boundary wire, loose stakes, damaged guide-wire runs, dock movement, sunken edging, and ruts near passages. Winter can make small installation issues worse, especially where snow shovels, plows, pets, or holiday extension cords cross the lawn.
For wired systems, repairing a small nick or loose connector now is easier than troubleshooting a broken loop in spring. If your setup uses boundary-wire parts, our large wired-installation kit review is a helpful reference for the kinds of wire, stakes, couplers, and connectors used in traditional installations.
For wire-free systems, save current maps, zones, no-go areas, and settings if the app or mower provides a way to do so. Do not delete maps unless the manufacturer specifically tells you to. If a spring remap is likely because trees, beds, fencing, or hardscaping changed, write that down now while you still remember what changed.
Step 7: Make spring startup boring, in the best way
A good winter shutdown should leave you with a short spring checklist, not a mystery. Store the mower manual, spare blades, screws, boundary connectors, cleaning brush, and any dock hardware together. Take photos of cable routing, power supply placement, RTK mounts, and the dock before disassembly.
When mowing season returns, inspect for corrosion, rodent damage, loose connectors, and debris before powering up. Reinstall the dock or positioning hardware, clean charging contacts again, charge the mower, and run a short test in a simple area before trusting a full schedule. If the mower relies on firmware, mapping, or app control, check updates only after the mower is charged and communicating normally.
Helpful questions
Should I remove the blades before winter storage?
You usually do not need to remove good blades just for storage, but winter is a sensible time to replace worn or damaged blades. If you leave blades installed, clean and dry the cutting area so grass acids and moisture are not sitting against metal for months.
Can the charging station stay outside all winter?
Sometimes, but it depends on the mower brand and model. Some systems allow the dock base to remain outside while the power supply is stored indoors; others recommend removing more components. Follow the manual for your exact mower, and protect any outdoor connectors from moisture.
How often should I recharge the mower in storage?
Recharge intervals are model-specific. The important point is not to let the battery sit empty through winter. Check the manual for the recommended storage charge and whether a midwinter top-up is required.
A simple final pass before you shut the door
Winter storage is not complicated, but it rewards being methodical. Clean it, dry it, inspect the wear parts, respect the battery guidance, and handle the dock or RTK hardware according to the manual. Do that, and your robot mower has a far better chance of starting spring as a ready-to-work tool instead of a blinking, beeping project.