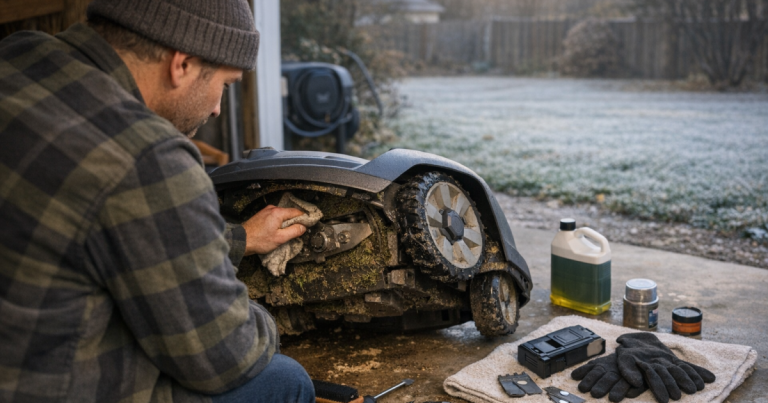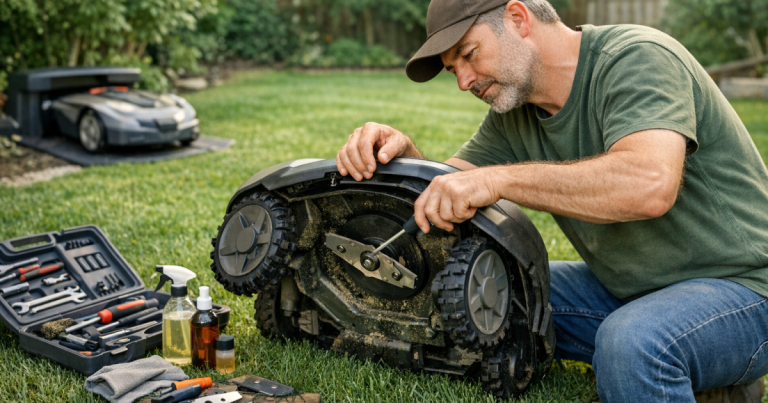
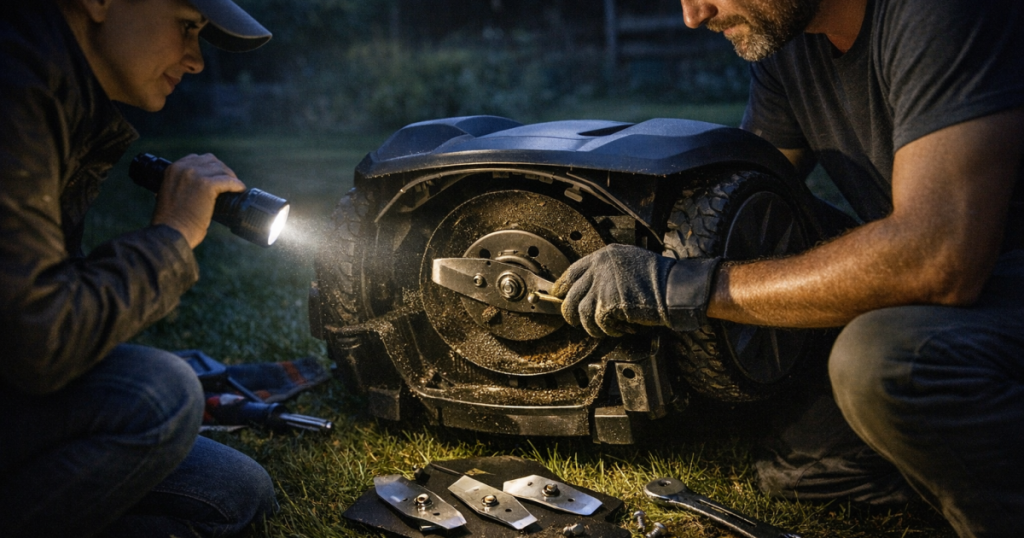
A robot mower can make a lawn look consistently tidy, but the blades are tiny wear parts doing a lot of work. The right time to replace robot mower blades depends less on the calendar and more on mowing hours, grass toughness, debris, and the way the cut looks. Sharp blades clip; dull ones tear, and grass tips are very good at tattling.
The short version
For many US homeowners, a sensible starting point is to inspect robot mower blades every 1 to 2 weeks during the growing season and plan on changing them about every 4 to 8 weeks when the mower is running regularly. That is a rule of thumb, not a universal service interval. A small, clean, quarter-acre lawn may stretch blades longer, while a rough yard with sticks, pine cones, sandy soil, thick warm-season grass, or daily mowing can wear them down faster.
Use this decision framework: change the blades when the grass tips look torn or whitish, when the cut starts looking fuzzy instead of clean, when blades are nicked or bent, or when the retaining screws look worn, rusty, stripped, or no longer hold securely. If you are already doing a broader seasonal check, pair blade inspection with deck cleaning, wheel checks, and the basic upkeep in this robot lawn mower maintenance checklist.
Why blade timing is different on a robot mower
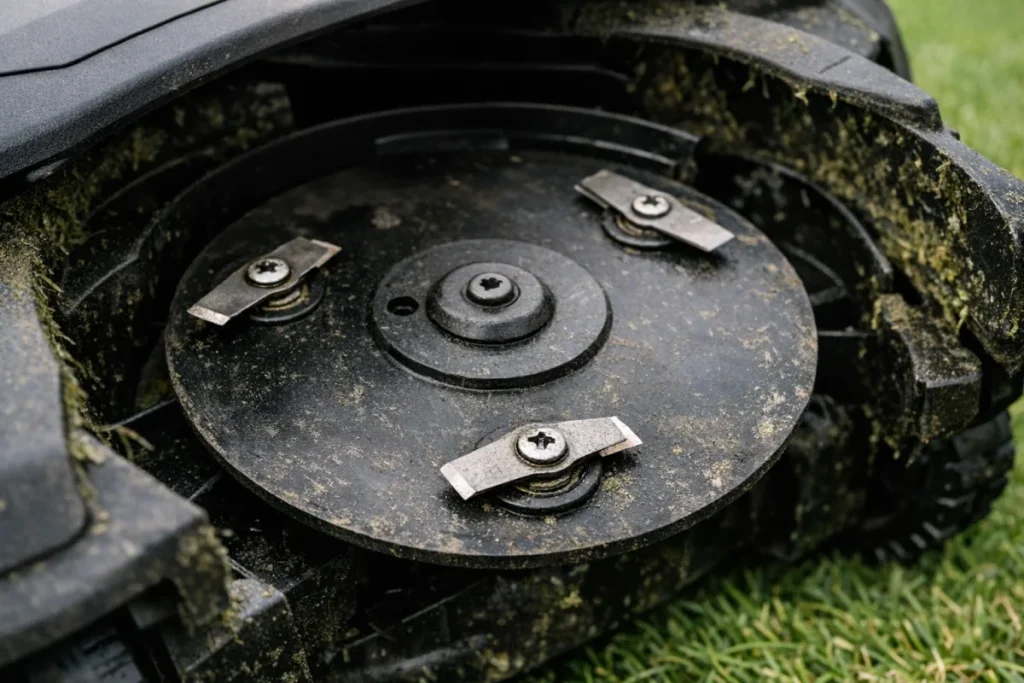
A walk-behind mower usually uses one larger blade that takes a full-width cut. Many robot mowers use several small pivoting razor-style blades or compact fixed blades. They remove tiny amounts of grass more often, which is part of why the lawn can look neat without dramatic weekly mowing stripes.
That also means blade wear can sneak up on you. The mower may keep operating, but the finish slowly changes. Instead of cleanly snipped grass tips, you start seeing pale, ragged ends across the lawn. From the patio, the yard still looks mostly cut. Up close, the turf looks stressed and untidy. That is the maintenance equivalent of a dull kitchen knife: it still works, but it makes a mess of the job.
A practical blade-change schedule
Start with a simple schedule, then adjust it to your yard. You do not need to obsess over every blade rotation, but you do need a repeatable habit.
- Every week in heavy growth: Look at the grass tips and glance under the mower after powering it down according to the owner’s manual.
- Every 1 to 2 weeks in normal growth: Check blade edges, blade freedom of movement, screw heads, and debris buildup around the cutting area.
- About every 4 to 8 weeks in active mowing season: Expect many regularly used residential robot mowers to need fresh blades somewhere in this range.
- After impacts: Inspect immediately after the mower runs over a stick, toy, landscape edging, exposed root, stone, or storm debris.
- At the start of the season: Install fresh blades if the previous set ended the season worn, rusty, nicked, or uncertain.
If you track mower runtime, mowing hours are usually more useful than calendar time. A mower covering a large front and back yard every day will wear blades faster than one trimming a small, open lawn a few times per week. If you do not track hours, cut quality is the better judge.
Signs your robot mower blades are dull
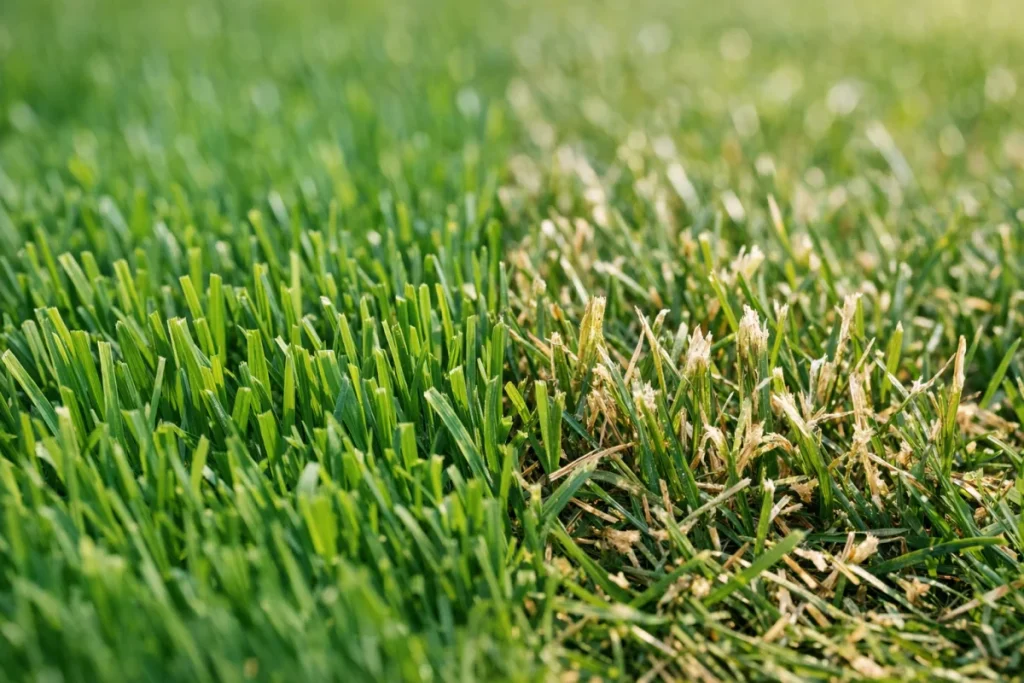
Dull robot mower blades usually announce themselves through the grass before they announce themselves through the mower. Look for these signs during daylight, ideally after the lawn has dried.
- Ragged grass tips: Cleanly cut grass has a flat, neat end. Torn grass looks shredded, stringy, or uneven.
- Whitish or tan tips: Torn grass blades dry at the ends, creating a pale haze across the lawn.
- Fuzzy cut appearance: The lawn may look mowed, but not crisp. This is most noticeable in bright sun.
- More clumps under the deck: Dull blades can contribute to smeared clippings, especially when grass is damp.
- Nicked or bent blade edges: Any visible damage is enough reason to change that blade set.
- Uneven cutting after setup has been stable: If height settings and mowing schedule have not changed, blade condition is an easy first check.
Do not wait for every symptom. If the blades are visibly damaged, change them. If the lawn is showing torn tips across multiple areas, change them. The cost and effort are small compared with trying to nurse stressed turf back during hot weather.
How lawn size and grass type change the interval
The heavier the mowing workload, the shorter the blade interval. A compact suburban lawn with few obstacles is easy duty. A larger yard with uneven terrain, tree litter, acorns, pine cones, and dry soil is harder on blades. Sandy areas are especially abrasive because fine grit acts like sandpaper on the cutting edge.
Grass type matters too. Fine cool-season turf is usually gentler than thick, coarse warm-season grass. St. Augustine, for example, has broad blades and a higher preferred cutting range, so sharp mower blades and proper height settings both matter. If your lawn is St. Augustine, this guide to robot mowers that cut high enough for St. Augustine grass is worth pairing with your blade-maintenance routine.
Yards with dogs, kids, or lots of trees also need more frequent checks. The mower does not know that a fallen twig, tennis ball, mulch chunk, or hidden toy is about to shorten the life of a blade. A quick scan before mowing is not glamorous, but neither is replacing blades you dulled on a plastic dinosaur.
Step-by-step: checking and changing blades
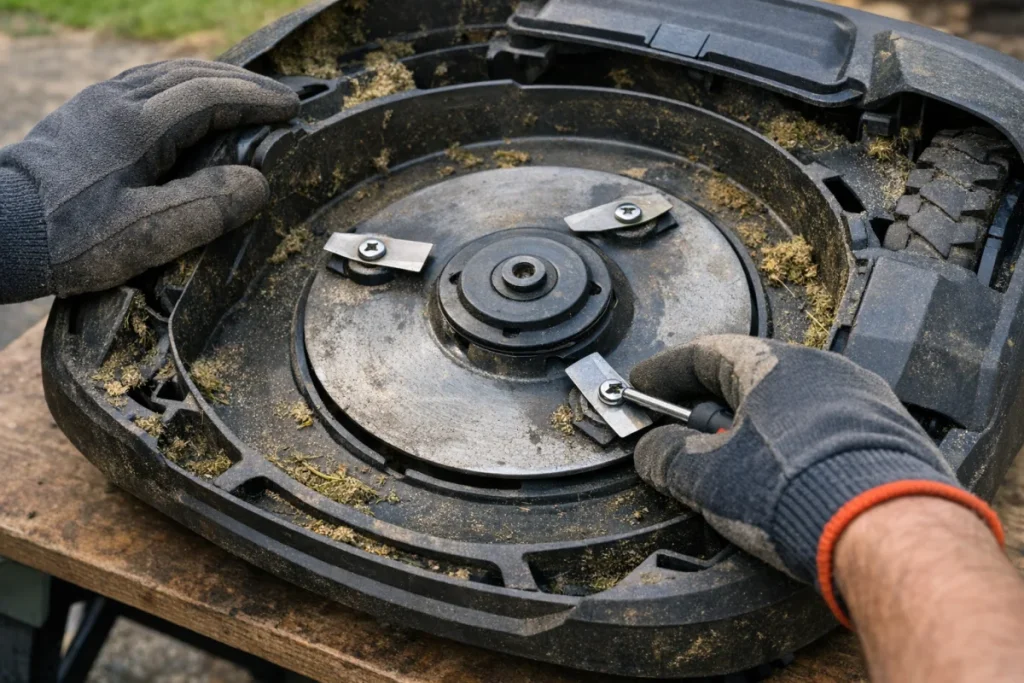
1. Power the mower down fully
Follow the shutdown process in your mower’s manual before touching the cutting system. Use gloves, wait for all blade movement to stop, and work on a stable surface. Robot mower blades are small, but they are designed to cut grass all day; your fingers are not a recommended test material.
2. Clean enough to see what you are doing
Brush away dry clippings from the underside of the mower. You do not need to make the deck showroom-clean every time, but you should be able to see the blade, screw, and mounting point clearly. Avoid aggressive washing unless your manual specifically allows it.
3. Inspect every blade, not just one
Check each blade for chips, bends, rounded edges, rust, and restricted movement. On mowers with pivoting blades, each blade should move freely as designed. If one blade is damaged, it is usually best to change the full set so the cut stays balanced.
4. Check the screws as carefully as the blades
Screw safety is easy to overlook. Replace screws when the blade kit or manual calls for it, and always replace screws that are stripped, bent, corroded, or worn. A sharp blade held by a questionable screw is not a win. Tighten fasteners according to the mower manual rather than guessing.
5. Use blades that match your mower
Use the blade type and screw style specified for your model. Blade thickness, hole shape, screw length, and clearance all matter. For Husqvarna owners, Husqvarna Automower® Endurance Blades are one recognizable option to compare when they match the mower and blade style listed in the manual. For any brand, compatibility beats bargain-bin guesswork.
6. Do a short follow-up check
After the mower has run again, look at the grass tips in a few areas of the yard. Fresh blades should leave a noticeably cleaner cut. If the lawn still looks torn, the issue may be mowing wet grass, cutting too much height at once, deck buildup, uneven terrain, or a setup issue rather than blade age alone.
When to change blades early
Do not wait for the calendar if the mower has had a rough week. Change blades early after a storm drops sticks across the lawn, after landscaping work leaves grit or small stones behind, or after you notice repeated contact with edging, roots, or hard objects. The same goes for a mower that has been asked to bring overgrown grass back under control. Robot mowers are happiest trimming little and often, not hacking through a mini meadow.
Early replacement is also sensible before a heat wave if the existing blades are already marginal. Torn grass loses moisture faster at the damaged tip, and summer stress is when sloppy cutting becomes more obvious. Fresh blades are a small bit of insurance for the lawn’s appearance.
Seasonal timing that makes ownership easier
Blade changes are easier to remember when they are tied to the season. In spring, start with a clean deck, fresh or inspected blades, and a realistic mowing schedule as growth ramps up. If the mower has been stored for winter, combine blade inspection with the steps in this spring startup guide for robot mowers.
In midsummer, focus on cut quality and debris. Dry soil, seed stems, and tree litter can speed wear. In fall, keep an eye on leaves, twigs, acorns, and damp clipping buildup. Before winter storage, remove damaged blades or make a note to install fresh ones before the mower returns to work.
How often should you replace robot mower blades?
Replace robot mower blades when cut quality declines, when blade edges are nicked or rounded, or when the retaining screws are no longer in good condition. As a homeowner rule of thumb, inspect every 1 to 2 weeks and expect replacement about every 4 to 8 weeks during regular mowing, with shorter intervals for large lawns, thick grass, sandy soil, tree debris, and frequent impacts.
That answer is deliberately a range because yard conditions matter. A blade-change schedule should not be treated like an oil-change sticker. The best interval is the one that keeps grass tips clean without wasting usable blades.
Blade mistakes that shorten clean-cut time
- Changing only one damaged blade: If the mower uses a set of small blades, changing the full set usually gives a more consistent cut.
- Reusing worn screws: Screws are part of the cutting system. Treat damaged or tired screws as replacement items, not souvenirs.
- Ignoring deck buildup: Fresh blades cannot perform well if clippings are packed around the cutting area.
- Mowing through debris: Sticks, cones, stones, toys, and edging contact can dull blades quickly.
- Buying blades by looks alone: Similar-looking blades can differ in hole shape, size, screw fit, and clearance.
- Waiting for the lawn to look bad from the curb: By then, the grass tips have probably looked rough up close for a while.
Quick blade questions
Can you sharpen robot mower blades?
For most homeowners, replacement is the cleaner answer. Many robot mower blades are small, inexpensive wear parts, and sharpening them evenly can be fiddly. If a blade is bent, chipped, rusted, or no longer mounts correctly, replace it rather than trying to save it.
Should all blades be changed at once?
Usually, yes. If one blade is worn or damaged, the others have likely seen the same mowing hours. A full set helps keep the cutting action consistent and makes the next inspection easier to track.
Do higher cutting heights make blades last longer?
Not automatically. Cutting height affects grass health and mower workload, but blade wear still depends on mowing frequency, grass texture, debris, soil grit, and impacts. The best height is the one suited to your grass type, with sharp blades doing the cutting.
Keep the cut clean
The easiest habit is simple: look at the grass tips, then look at the blades. If the tips are clean and the blades are undamaged, keep mowing. If the tips are torn, the edges are nicked, or the screws look tired, change the set and reset your reminder. A robot mower earns its keep by being boringly consistent, and sharp blades are one of the cheapest ways to keep it that way.